Why buy inferior store bought granola bars when you can make a tastier, healthier and cheaper version yourself? Yes, I know the packaged and processed bars are convenient and tasty….well, this easy recipe is kid tested, mother approved, and you can prep them in advance for a quick grab and go option too. The best answer to a hectic and hangry morning or after school snack option to eat in the car? These crunchy baked granola bars!
This post was updated from the original posted on September 14, 2015.
I’ve been that harried mom who wanted to limit the packaged and processed foods, especially those that contained refined sugars….AND also the mom on the go who was rushing her kids from activity to activity.
It took some time and patience, but I was determined. After a lot of trial and error, I perfected my recipe for a homemade crunchy granola bar and we never looked back. Even now, I always have a batch of these, and also my no bake chewy grain-free granola bars in the freezer, so if one of my kids stops by, I can send them home with a supply of healthy and hearty vegan snacks I know they adore.
Ingredient Notes

- Rolled oats: . I like to use Thrive Market Organic Oats or One Degree Organic Sprouted Oats. Whatever brand you use, be sure they are non-GMO and glyphosate free.
- Nuts, Seeds, Chocolate Chips and Dried fruit: Go for any combination that gets you to the magic 2.5 cups total so you’ll have the right ratio of wet and dry ingredients.
- Honey: For a true vegan granola bar, substitute the honey for date syrup or maple syrup.
- Peanut butter: Make sure it’s creamy and drippy….I’ve learned over the years to store my unopened jars of nut butter upside down in the pantry and to mix them THOROUGHLY when I first open them so they’re uniform in texture and ready to use in recipes.
Step by Step

Spread oats, nuts and seeds in a single layer on a large rimmed baking tray.

Bake in preheated 350 degree oven for 10 minutes.

Let toasted oats/nuts cool and then pour into a bowl.

Add the dried fruit, ground flax, cinnamon, salt and chocolate chips to the bowl.

Mix. If the oats/seeds aren’t cool, the chocolate chips will melt when mixed in, rather than stay as chips.

In a small bowl, stir the honey into the nut butter until thoroughly mixed.

Pour the wet ingredients into the dry ingredients.

Mix well. It may feel like there isn’t enough sticky nut butter to go around, but stick with it (see what I did there?), it is the perfect amount. Use a heavy wooden spoon or metal spatula…the batter will be thick and sticky.

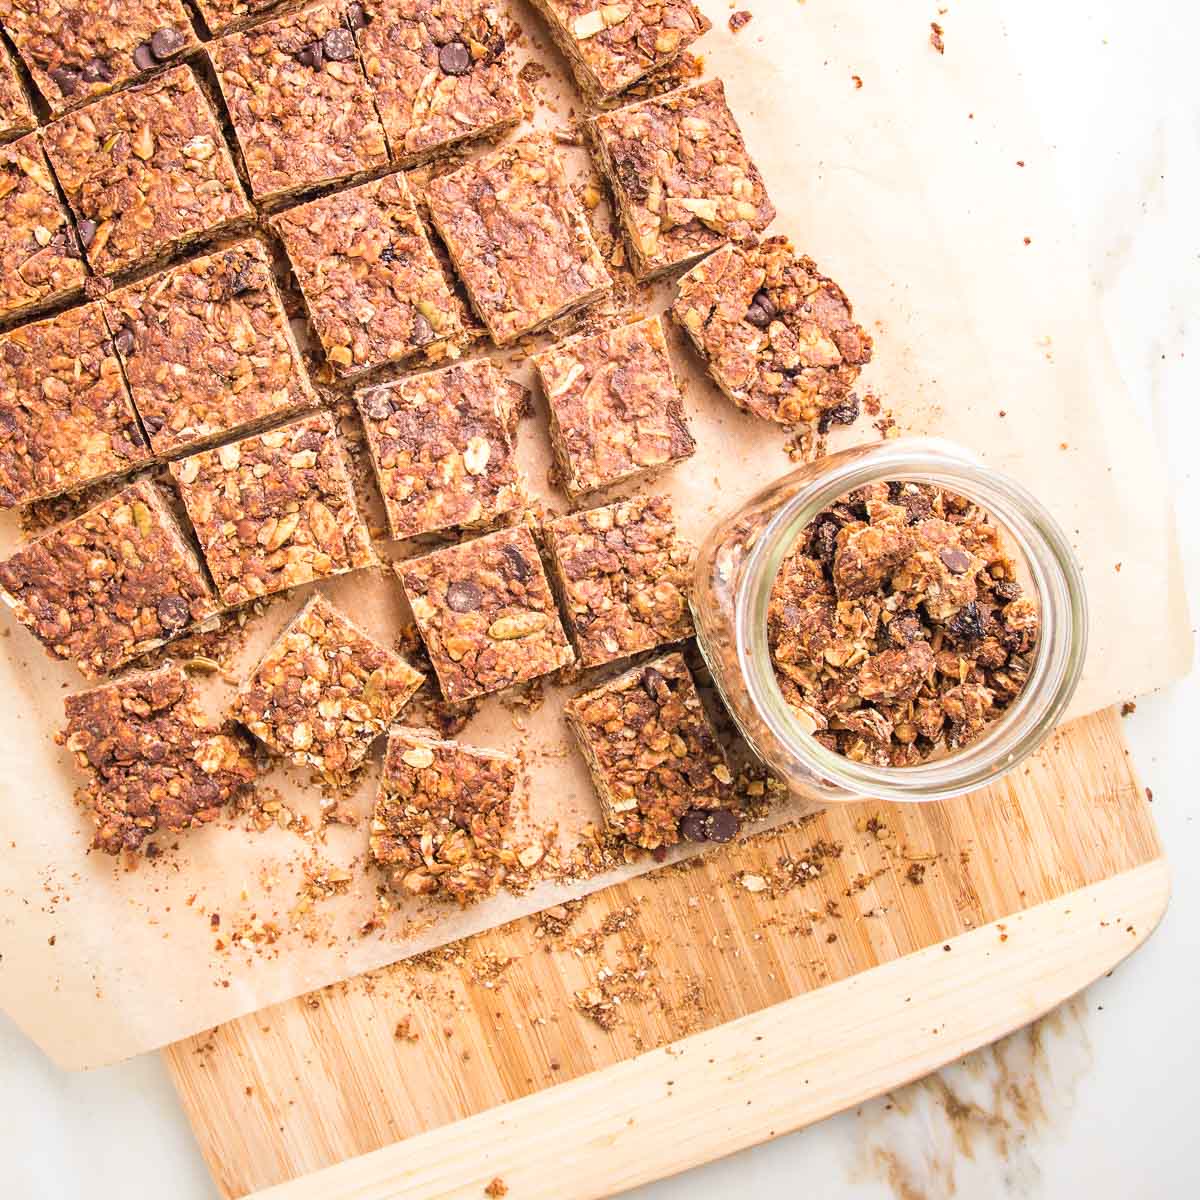
Spread the batter evenly into a 9×13 baking pan lined with unbleached parchment.

Use another sheet of parchment to cover the batter and then press down FIRMLY. The more you can compact the bars into the pan, the more they will hold together. I use an empty measuring cup to push down and get a uniform flatness.
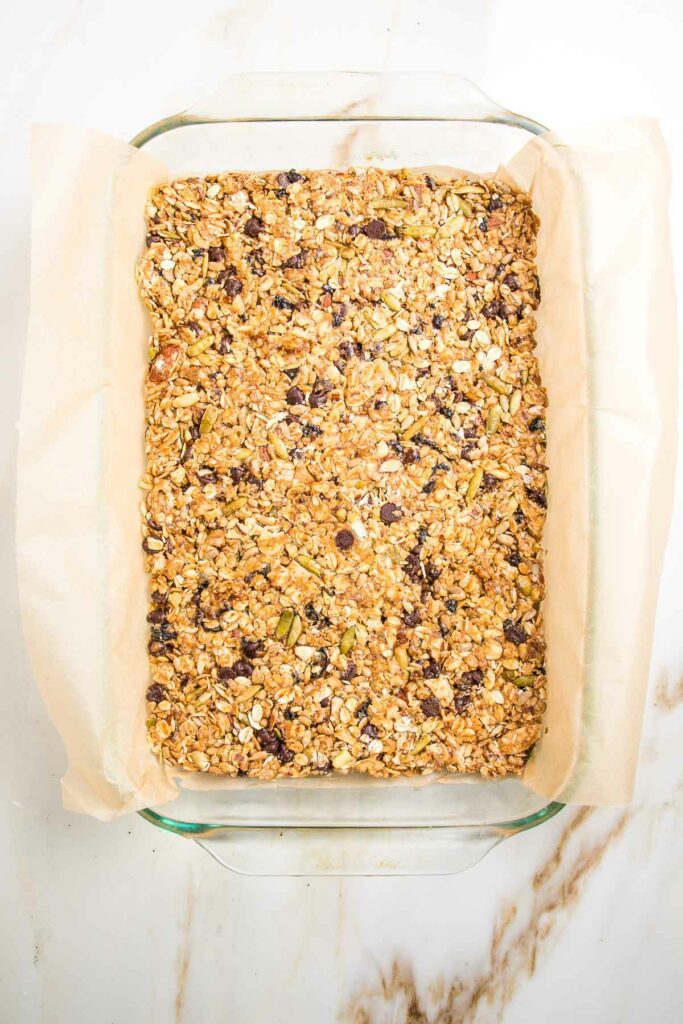
Turn the oven temperature down to 325 and bake for 25 minutes, until golden. Let the bars cool a bit in the pan so the chocolate chips aren’t so melty. Place the parchment back onto the top of the bars and push down to compact again. Let cool completely in the pan.

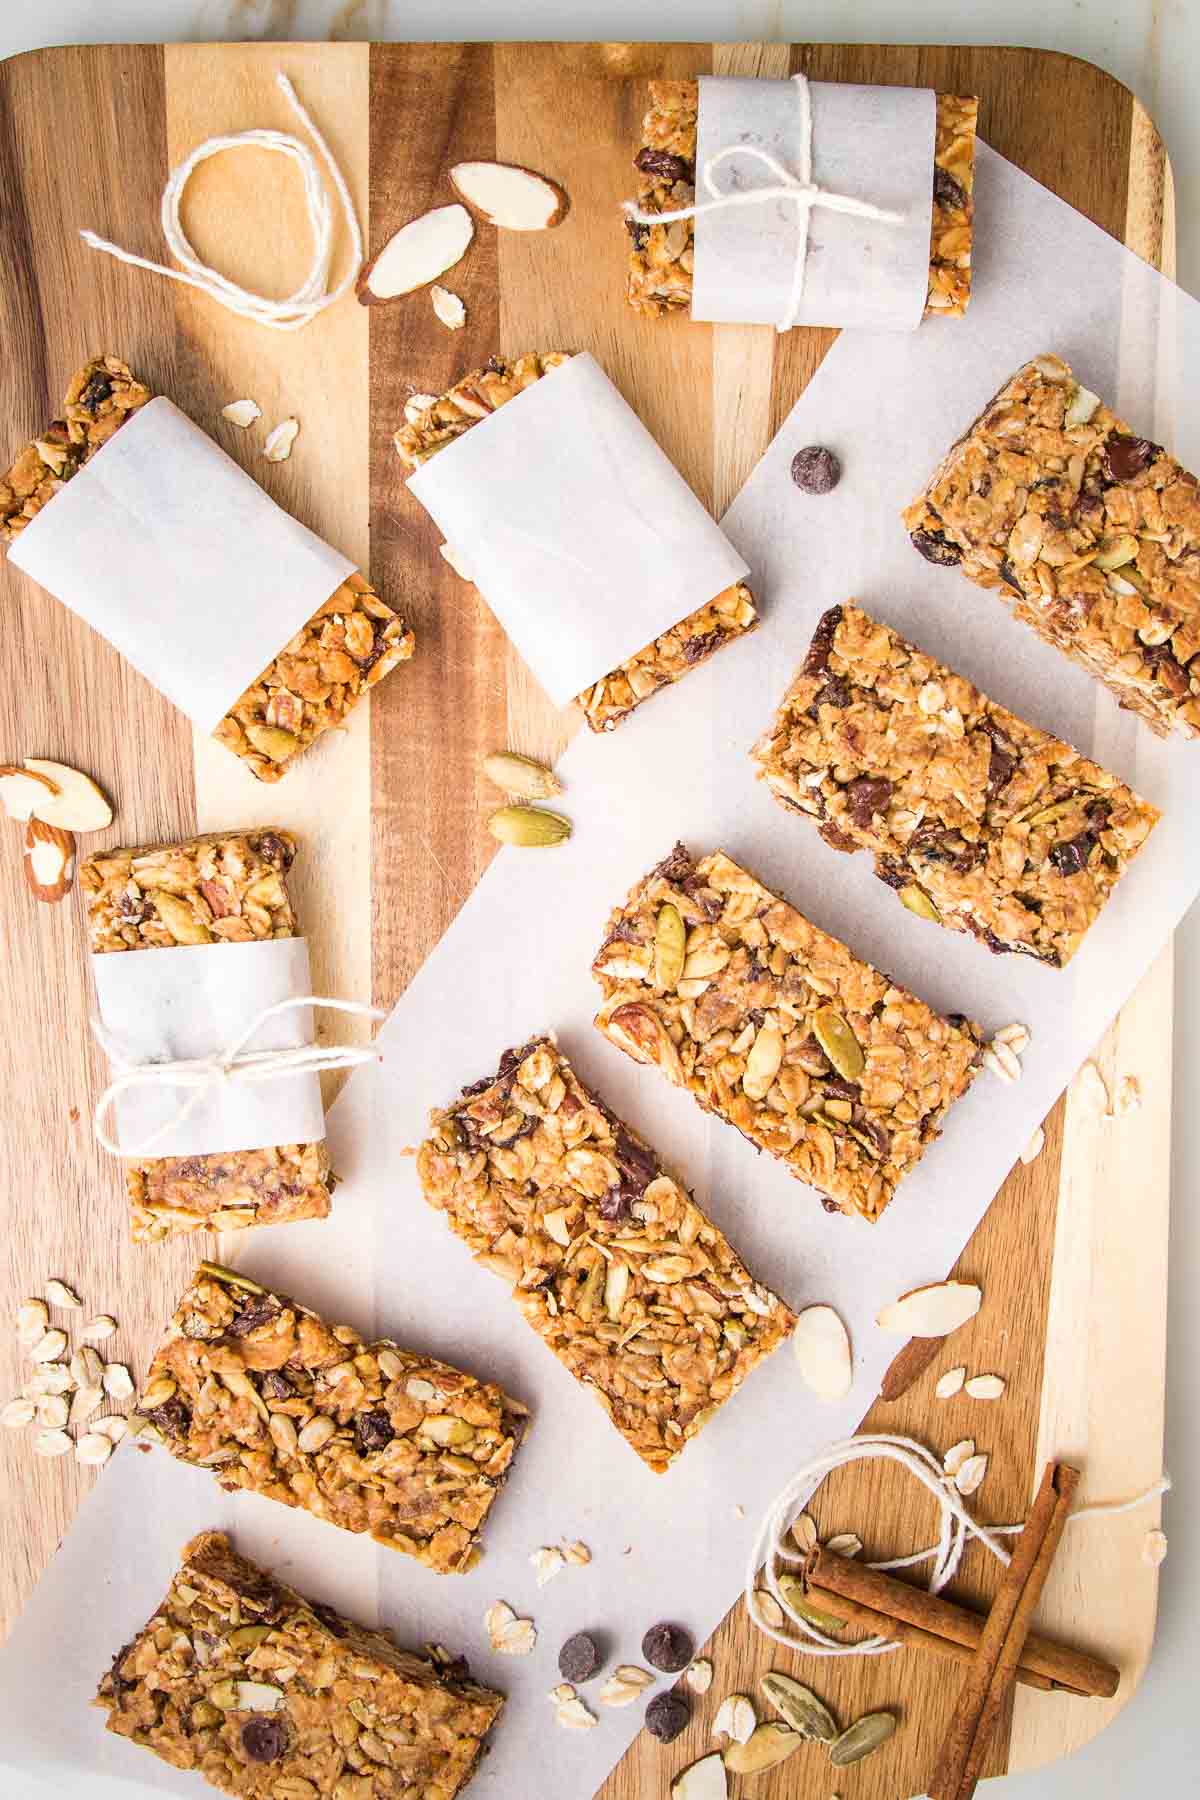
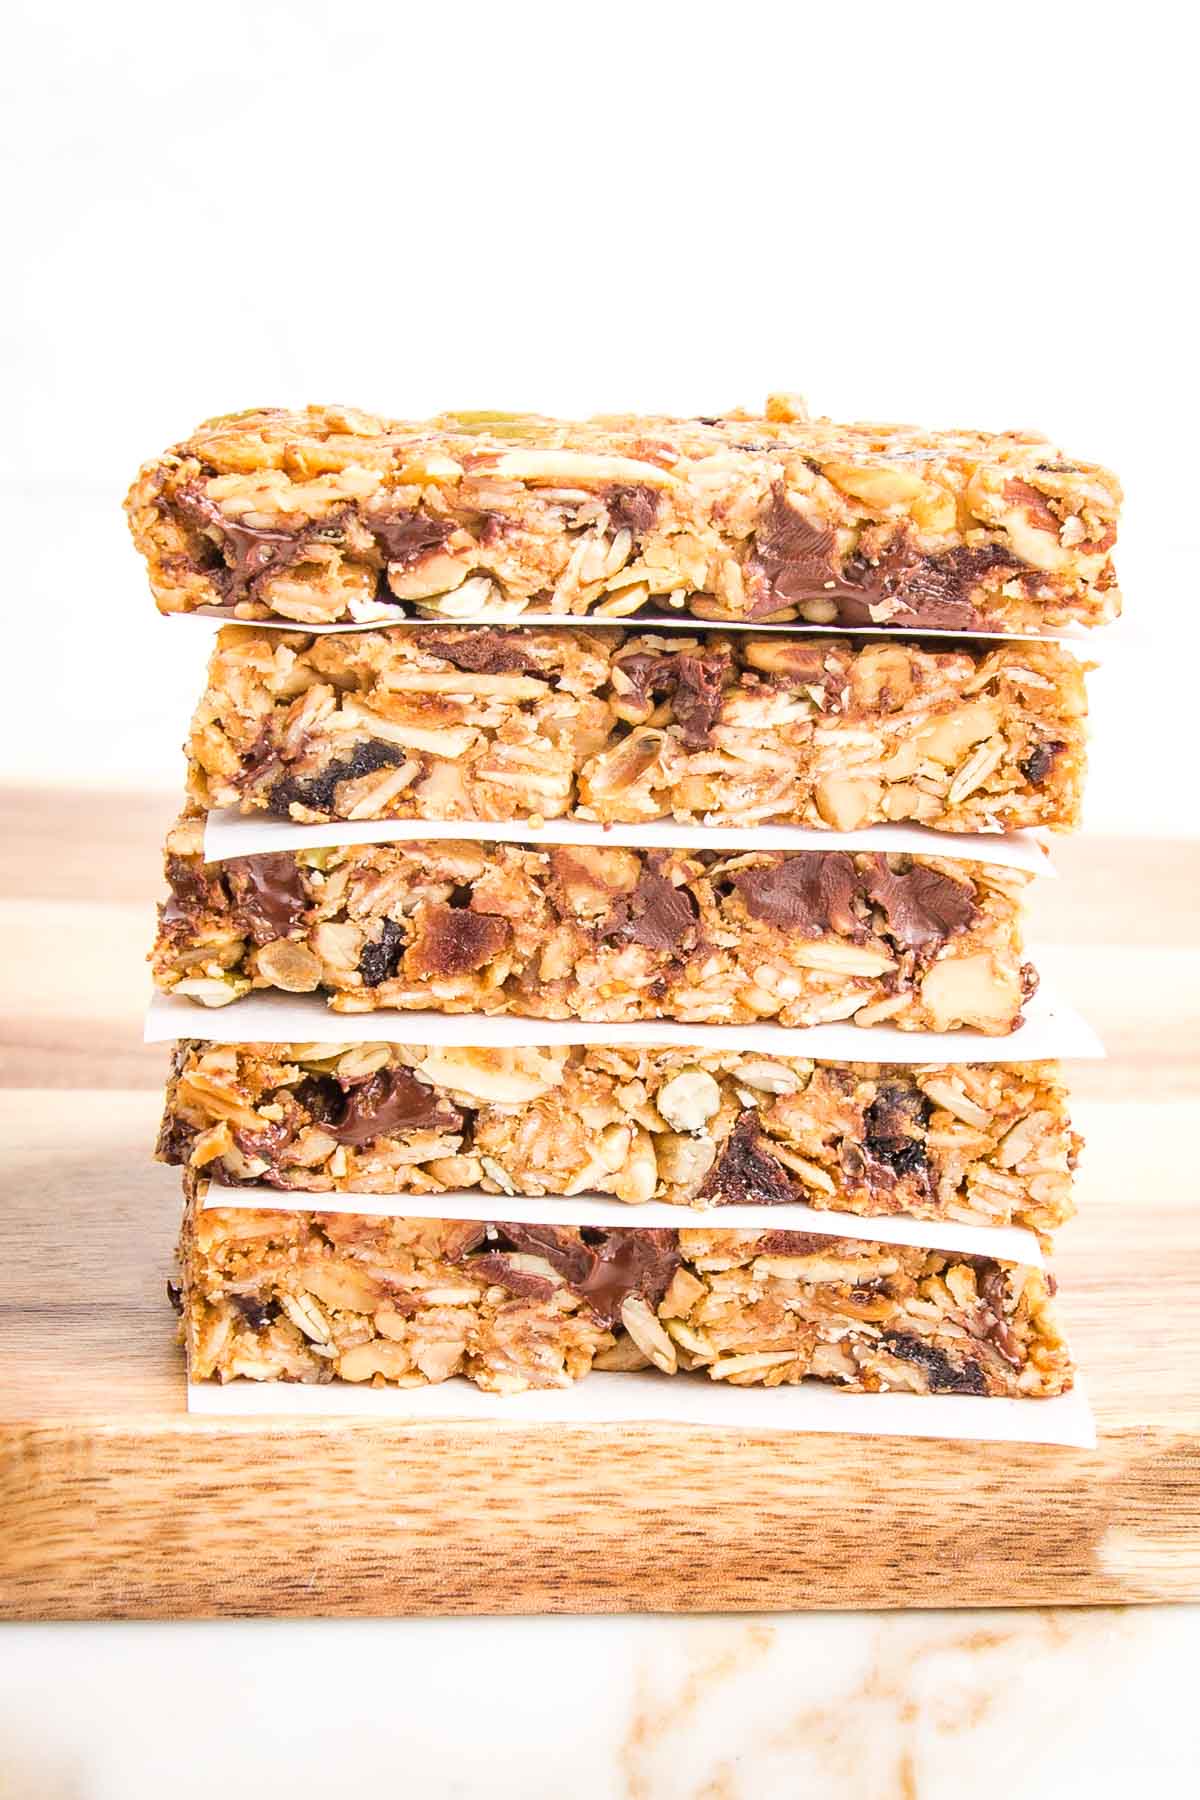
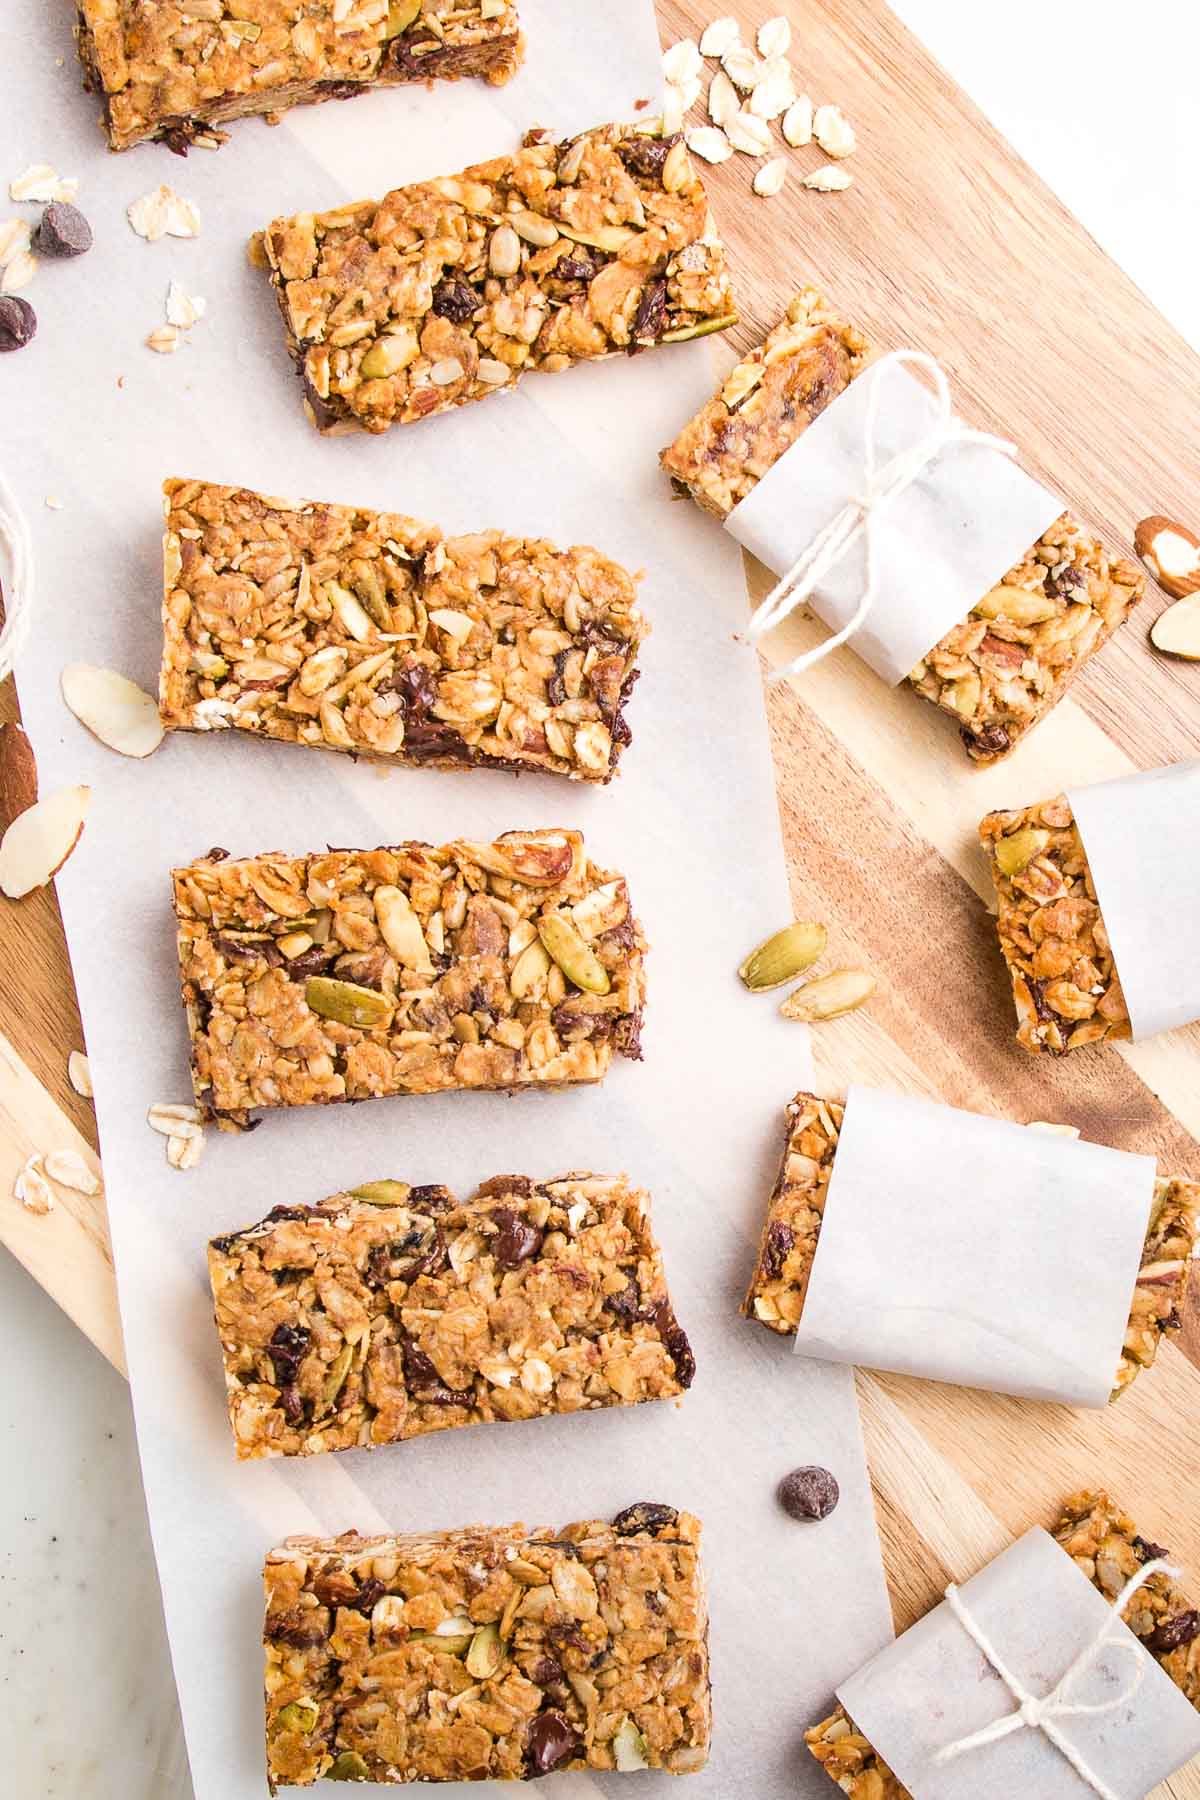
Remove by holding onto the edges of the parchment paper and placing onto a wooden cutting board.

Start by cutting vertically into long strips and then cut across horizontally to whatever size you prefer.
Debra’s Pro Tips
- Let the toasted oats cool before adding the chocolate chips or they will melt and you will have chocolate granola bars….not a bad thing…but just know that the chocolate will blend right into the oat mixture.
- If you don’t press down the batter and compact it before baking, they will fall apart. See the photo above? I couldn’t cut them into bars without them crumbling. The silver lining? Hubby thought it was the BEST GRANOLA ever. Yes….if yours fall apart, scoop the crumbs into a jar and use as granola…no shame, no waste!
- Store in the freezer, wrapped and ready to grab and go.
Did you know commenting and rating recipes is one of the best ways to support your favorite food bloggers? If you made this recipe, please consider a five star rating below and leave a comment. Also, please share your photos on instagram by tagging me @dkhealthcoach and using the hashtag #debraklein
📖 Recipe

Baked Oat Granola Bars with Peanut Butter
Equipment
Ingredients
- 2 cups old fashioned rolled oats
- 1 cup assorted nuts*
- ¼ cup pumpkin seeds
- ¼ cup sunflower seeds
- ½ cup unsweetened dried fruit*
- ½ cup ground flax seeds
- 1 teaspoon ground cinnamon
- ½ teaspoon salt
- ½ cup peanut butter*
- ½ cup honey*
- ½ cup dark chocolate chips
Instructions
- Preheat oven to 325.
- Place oats nuts and seeds on baking sheet and toast for 10 minutes.
- Prepare 9×13 glass dish by lining with unbleached parchment paper.
- Mix peanut butter and honey until well incorporated and set aside.
- When toasted nuts and oats have cooled enough to handle, pour into a medium sized mixing bowl. IF OATS AND NUTS HAVEN’T COOLED, THE CHOCOLATE CHIPS WILL MELT WHEN YOU MIX THEM IN. Add in dried fruit, chocolate chips, ground flax, cinnamon and salt in large bowl and mix together.
- Pour nut butter mixture over oats/nuts and stir until well incorporated. Batter will be VERY sticky. You may think there isn’t enough of the nut butter paste, but keep mixing and you’ll see it is exactly the right amount.
- Spread batter into prepared pan. Use another piece of parchment paper to cover the mixture and then use your hands to press down until it’s evenly distributed all the way to the edges. Use the bottom of a bowl or measuring cup to firmly press down. This is super important. You want the mixture to be as compacted as possible before baking so it won’t fall apart when you try to cut it.
- Bake for 25 minutes, until golden.
- Allow to cool COMPLETELY in the pan. Lift parchment edges to transfer to a cutting board.
- Cut into bars and store in covered container at room temperature for up to 1 week or in the freezer for up to 3 months.
Notes
MEAL PREP AND STORAGE
- Serve: Granola bars taste best at room temperature. They can be taken straight from the freezer to the lunch box and will be perfect when it’s time to enjoy.
- Prep ahead: Yes! Cool completely before storage.
- Store: For best results, store in an airtight container. Individually wrap and store at room temperature for a week, in the fridge for a month or freezer for 3 months for an easy grab and go breakfast or healthy snack.
Nutrition
Note
The nutrition calculations were done using online tools. To obtain the most accurate representation of the nutritional information in any given recipe, you should calculate the nutritional information with the actual ingredients you used. You are ultimately responsible for ensuring that any nutritional information is accurate, complete and useful.


Cee
Has anyone tried cutting the bars before baking? I do this with another recipe and it makes it so much easier but not sure if it would work here.
Debra Klein
I did try it and the batter was quite sticky which made it a bit tricky…but totally doable. I kept rinsing the knife in between cuts. So, I think it’s easier to wait until it was totally cool and then cut them.
Becky R
After refrigerating overnight, these bars hold together well . I didn’t have dried fruit so I added extra chocolate chips. Will be making again. Delicious!
Debra Klein
I usually keep mine in the freezer to last longer….not so much for freshness, but “out of sight” type of strategy in my house…but refrigerating to make them easier to cut is a great idea!
Marian
Hands down the best granola bar/healthy treat bar I have made. I think it’s down to the balance of ingredients and the toasting nuts, oats and seeds before cooking. A big bonus too is that they stay together, are crunchy and don’t make a huge mess. A couple really does sub for breakfast if you are in a hurry. I am addicted and the kids love them too (when they can get their hands on them!).
Debra Klein
Thanks so much….we love these crunchy granola bars for all those reasons too!
Sneha
Hi, I’ve been making these bars for a out two years now…testament to what a hit recipe you’ve created, so firstly..a big thank you! Life saver when it comes to healthy, yet tasty snacking, or even a breakfast option!
Question I have for you today – I’ve been using the convection mode in my microwave oven to bake these and last week the convection mode stopped working 🙄 it will apparently take about a month to get the defective element replaced…too long a wait to make..and have these yummies! So I wanted to check if this recipe also works in yhe microwave, and what adjustments i should make?
Your response is much appreciated! Thank you!
Sneha
Debra Klein
That’s a great question, but I don’t have a microwave or any experience using one, so I don’t know. You could always make a smaller batch and test it out. I have, however, made these in a toaster oven following same directions and temperature and they came out great. Maybe that is an option for you too.
Chef Marc
Excellent recipe. You can add just about anything healthy to it! My trick is to put them in the freezer for about 30 minutes and then the oven. I’ve found this keeps them solid while baking and far easier to cut afterwards.
Debra Klein
Great tip! I’ll try it next time.
Sneha
Hi, trying this recipe now and I wondered if i can use dates as one of the dried fruit options?
Debra Klein
Yes, definitely. Cut them into small pieces before mixing in. About the size of a raisin.
Bri
So good!
Jen
Quickly became my kids’ favorite snack!
Debra Klein
Yay! Love to hear this. Thank you.
Jen
Quickly became my kids’ favorite snack!